Exploring DIY Fiber Optic Star Ceiling Installation: Laser247, Lotus365, Sky247 login
Laser247, lotus365, sky247 login: Exploring DIY Fiber Optic Star Ceiling Installation
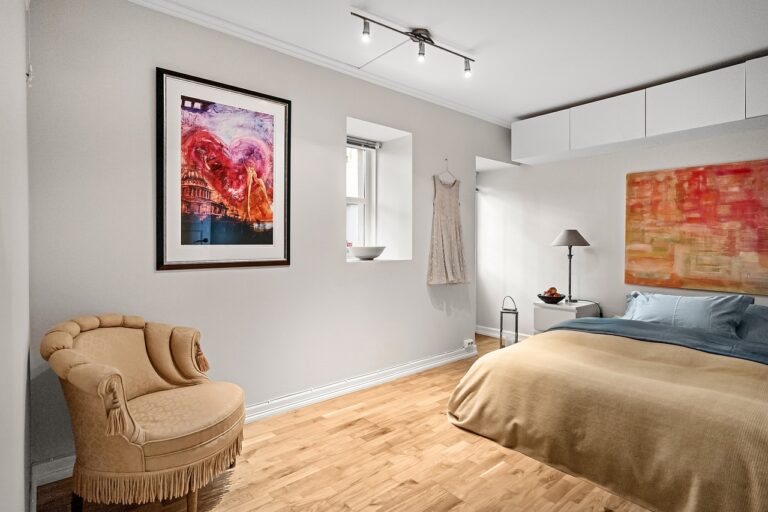
Are you looking to add a touch of magic to your home with a fiber optic star ceiling? Creating a stunning starry night effect in any room is easier than you might think with a DIY fiber optic star ceiling installation. In this article, we’ll guide you through the process of creating your own twinkling masterpiece that will leave your guests in awe.
Getting Started with Fiber Optic Star Ceiling Installation
Before you begin your DIY fiber optic star ceiling installation, it’s important to gather all the necessary materials. Here’s a list of what you’ll need:
1. Fiber optic strands: These will be used to create the stars in your ceiling. You can purchase these strands online or at your local hardware store.
2. Light source: You’ll need an LED light engine to illuminate the fiber optic strands. Make sure to choose a light source that is bright enough to create a realistic starry night effect.
3. Ceiling panel: You’ll need a panel to mount the fiber optic strands onto. Acrylic or PVC panels are commonly used for this purpose.
4. Adhesive: You’ll need a strong adhesive to attach the fiber optic strands to the ceiling panel.
5. Cutting tools: You may need to trim the fiber optic strands to size, so having a sharp pair of scissors or a cutting tool on hand is essential.
6. Drill and drill bits: You’ll need these to create holes in the ceiling panel for the fiber optic strands to pass through.
7. Optional accessories: You can enhance your star ceiling with optional accessories such as twinkle wheel adapters or color-changing LED lights.
Installing Your Fiber Optic Star Ceiling
Now that you have all the necessary materials, it’s time to begin your DIY fiber optic star ceiling installation. Follow these steps to bring the night sky into your home:
1. Determine the layout: Decide where you want your stars to be located on the ceiling and mark these spots.
2. Drill holes: Use a drill to create small holes in the ceiling panel at the marked spots. Make sure the holes are large enough for the fiber optic strands to pass through.
3. Insert fiber optic strands: Insert the fiber optic strands into the holes in the ceiling panel, leaving a few inches of the strands exposed on the underside.
4. Arrange the strands: Spread out the exposed ends of the fiber optic strands to create a randomized star pattern on the ceiling panel.
5. Secure the strands: Use adhesive to secure the fiber optic strands to the ceiling panel, making sure they are evenly spaced and taut.
6. Install the light source: Mount the LED light engine to the ceiling near the fiber optic strands. Connect the strands to the light source, following the manufacturer’s instructions.
7. Test your star ceiling: Turn on the LED light engine and enjoy the mesmerizing glow of your newly installed fiber optic star ceiling.
Maintaining Your Fiber Optic Star Ceiling
Once your DIY fiber optic star ceiling installation is complete, it’s important to properly maintain it to ensure it continues to shine bright. Here are a few tips for maintaining your star ceiling:
1. Dust regularly: Use a soft brush or cloth to gently dust the fiber optic strands to prevent them from accumulating dirt and losing their sparkle.
2. Check for damage: Inspect the fiber optic strands and ceiling panel regularly for any signs of damage or wear. Repair or replace any damaged components as needed.
3. Replace the light source: Over time, the LED light engine may need to be replaced to maintain the brightness of your star ceiling. Keep an eye on the light source and replace it when necessary.
FAQs
Q: Can I install a fiber optic star ceiling in any room?
A: Yes, you can install a fiber optic star ceiling in any room of your home. It’s a great way to add a touch of magic to bedrooms, home theaters, or even bathrooms.
Q: How long does it take to complete a DIY fiber optic star ceiling installation?
A: The time it takes to install a fiber optic star ceiling will vary depending on the size of the room and the complexity of the design. On average, it can take anywhere from a few hours to a full day to complete the installation.
Q: Is a fiber optic star ceiling difficult to maintain?
A: Fiber optic star ceilings are relatively low-maintenance. Simply dust the strands regularly and check for any damage to keep your star ceiling looking its best.
Q: Can I customize the color of the stars in my fiber optic ceiling?
A: Yes, you can customize the color of the stars in your fiber optic ceiling by using color-changing LED lights or filters on the light source.
In conclusion, DIY fiber optic star ceiling installation is a fun and rewarding project that can transform any room into a magical space. With the right materials and a bit of creativity, you can create a stunning starry night effect that will wow your guests and bring a touch of whimsy to your home. So why wait? Start planning your fiber optic star ceiling installation today and watch your room come to life with twinkling stars above.